Here’s another wallpaper similar to the Matrix-style number rain. Download it using the kebab menu in the bottom right of the player.


Here’s another wallpaper similar to the Matrix-style number rain. Download it using the kebab menu in the bottom right of the player.


Another great tutorial from the Blender Guru. I used this to make a sign for a buddy who is really into cats. We have been playing Halo recently and his four-letter callsign is MEOW. He also threw down $10 on the new cat ear helmet and changed his armor color to pink.
Pressing F3 in Blender opens up a command box that allows you to search for different items, such as “convert” in order to convert text to a curve.
CTRL + T when selecting a node adds a Texture Coordinate and a Mapping node to the selected node.
If nothing shows up in the Compositor view, be sure to check the “Use Nodes” box.
Contains assets from ambientCG.com, licensed under CC0 1.0 Universal.

This week I decided to try adding a looping animation as my phone wallpaper, and it worked out pretty well!
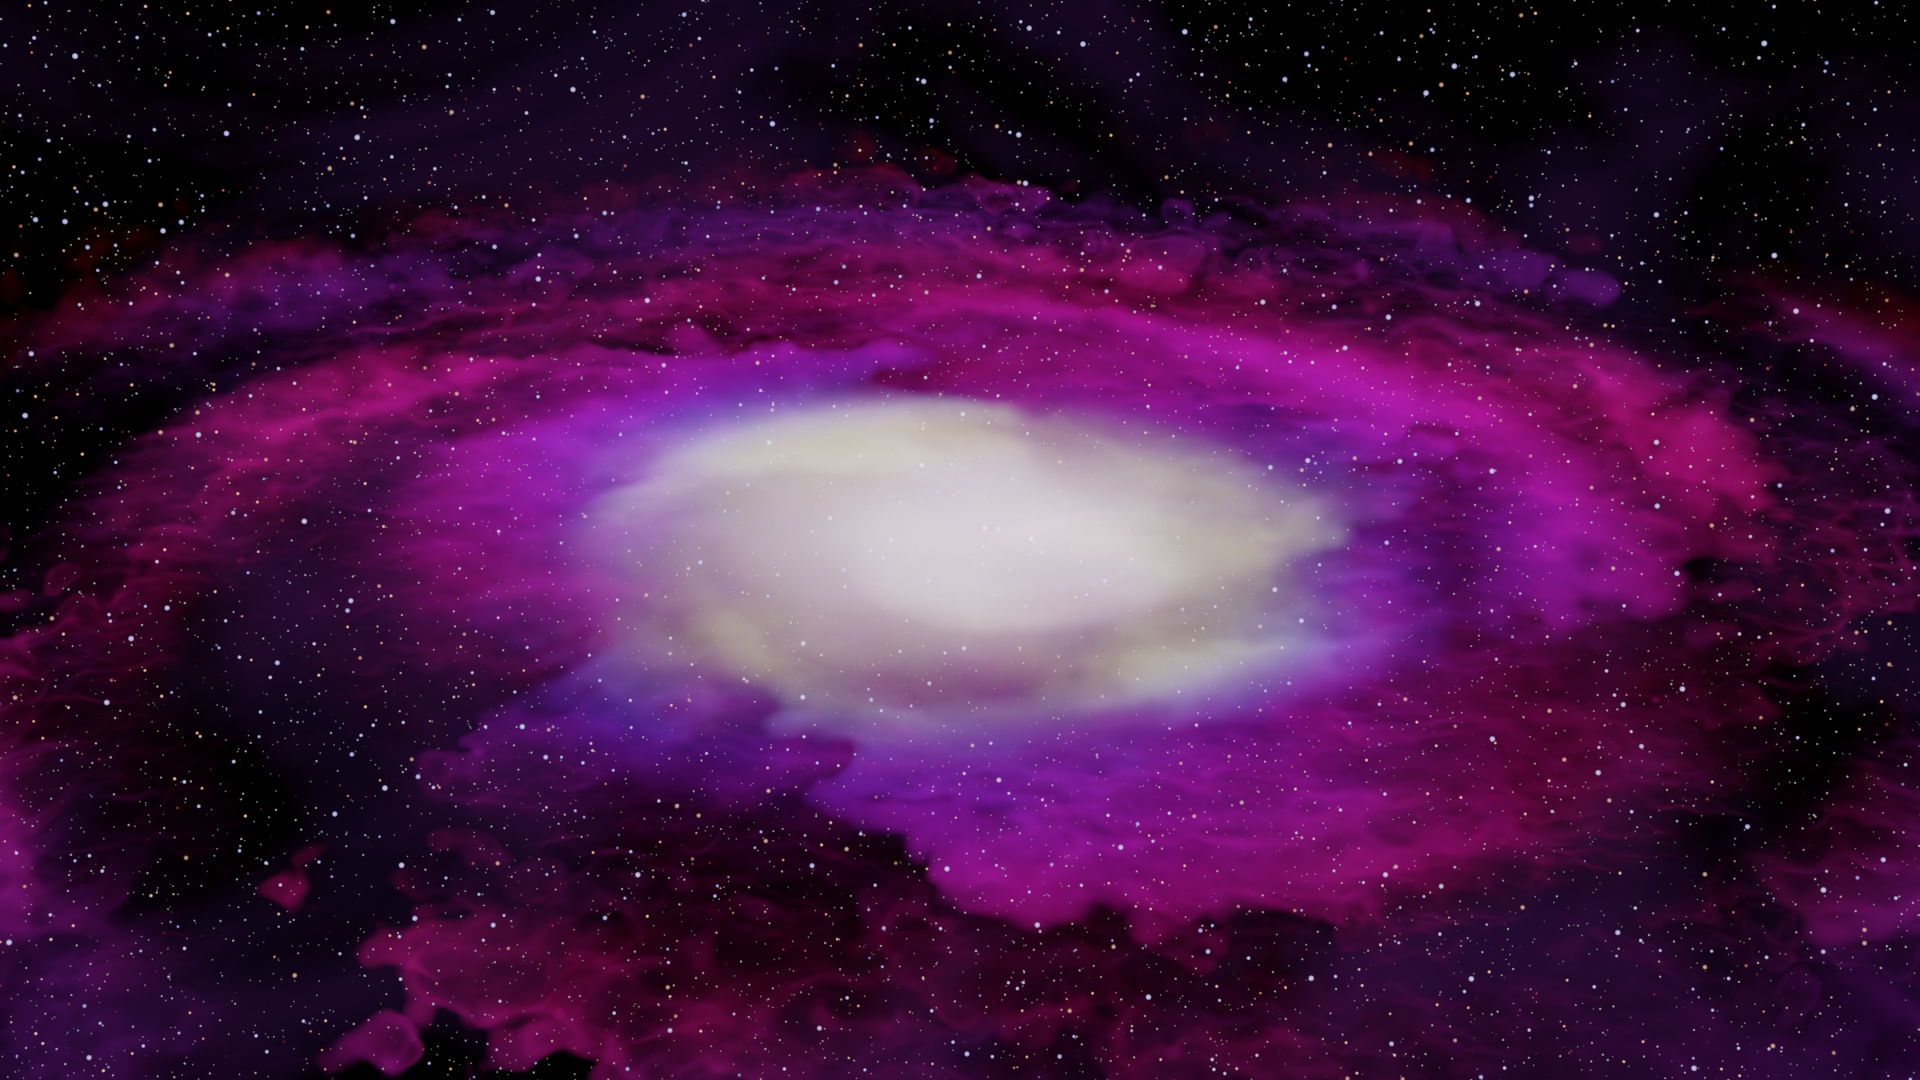
It started out with the galaxy from last week. I wanted a phone wallpaper showing the galaxy rotating a full 360 degrees. After a quick Google on how to record an animation, I came to this:

Note, this is a still image, so it doesn’t take forever to load the GIF. But it didn’t turn out too bad if I say so myself. The GIF is a little stuttery at times, though. I am still working out whether it is the conversion to GIF from MKV/MP4, but it is good enough to play with. Next, I transferred the file to my phone, used a video wallpaper app (Video Live Wallpaper by NAINGDroid) and bam! Rotating galaxy in the palm of my hand.
After that, I had an idea to try a looping wallpaper of the number rain similar to that in the Matrix movies. To do that, I built a series of vertical numbers filling the camera frame and applied Bloom to them (using the Eevee engine). I duplicated the entire group and transformed the duplicate group to 30 units above thee original. Then, over the animation, I transformed both groups down 30 units – so, by the end of the animation, the duplicate group would end up exactly where the original group started. The important piece here was to make sure no numbers for the duplicate group start in the camera frame. If they do, they will jump back into frame once the animation loops (it won’t be seamless).
After all that…

I think it looks pretty good! It hit my phone’s processor hard for some reason, though. I am guessing there was much more going on in each frame, so the live wallpaper had quite a bit of stuttering. I do have an older phone, though, so it may do well on newer hardware. The video ended up feeling a touch crowded, so I created a sparser, blue version, that used only binary numbers:

The Binary Rain is currently my wallpaper. I like that electric blue. However, this one feels a little too empty… So I may tweak it until I find the right level of activity. I’ll eventually set up a gallery with these looping animations for you to try out on your own phone.
Try CloudConvert to convert your different video files. I converted MKV to GIF for the GIFs above. They also work with MP4 files.
Make your Default Interpolation Linear in Blender when rendering these animations. The initial setting is Bezier, which slows down on the tail ends of the animation, making it obvious when the loop is coming.
Also be sure to start at frame one on the animation. Otherwise, your ending frame will match the first frame.
Use the math when calculating where everything needs to be at the end of the animation so the loop is seamless. 360 degree rotation? Make sure the object is rotated to 360 degrees (which is the same as zero degrees) by the end of the animation. Making the objects transform 10 units over in the animation? Have the second grouping start ten units away (but out of frame).

This is another week of waiting on consistent internet (labor shortage = no technicians). But I tried a quick tutorial from Iridesium on making galaxies in Blender. It was a fast-paced tutorial, so be ready to pause a lot, but I think the galaxy turned out pretty well. I was also able to pair it with my space background from last week to make it look more realistic.
It is good for a quick galaxy. Of course, making it look less gaseous and more like clusters of stars would increase the “real” factor. I will continue to play with it, and may use the gaseous piece of the galaxy’s shader when trying to make nebulae later on.
ALT + SHIFT + Z turns off all overlays in the 3D viewport.
CRTL + J joins selected nodes together in the shader editor. It is slightly different from CTRL + G in that it keeps all of the node visible. With CTRL + G, you hit Tab to move into the group of nodes. I do like that CTRL + G lets you append the grouped nodes into new projects.

Sometimes you just have to play around a little. I’ve been doing a lot of tutorials recently, and I’ve been in the middle of moving (so I’m between internet services), so I decided to practice the things I have been learning recently.
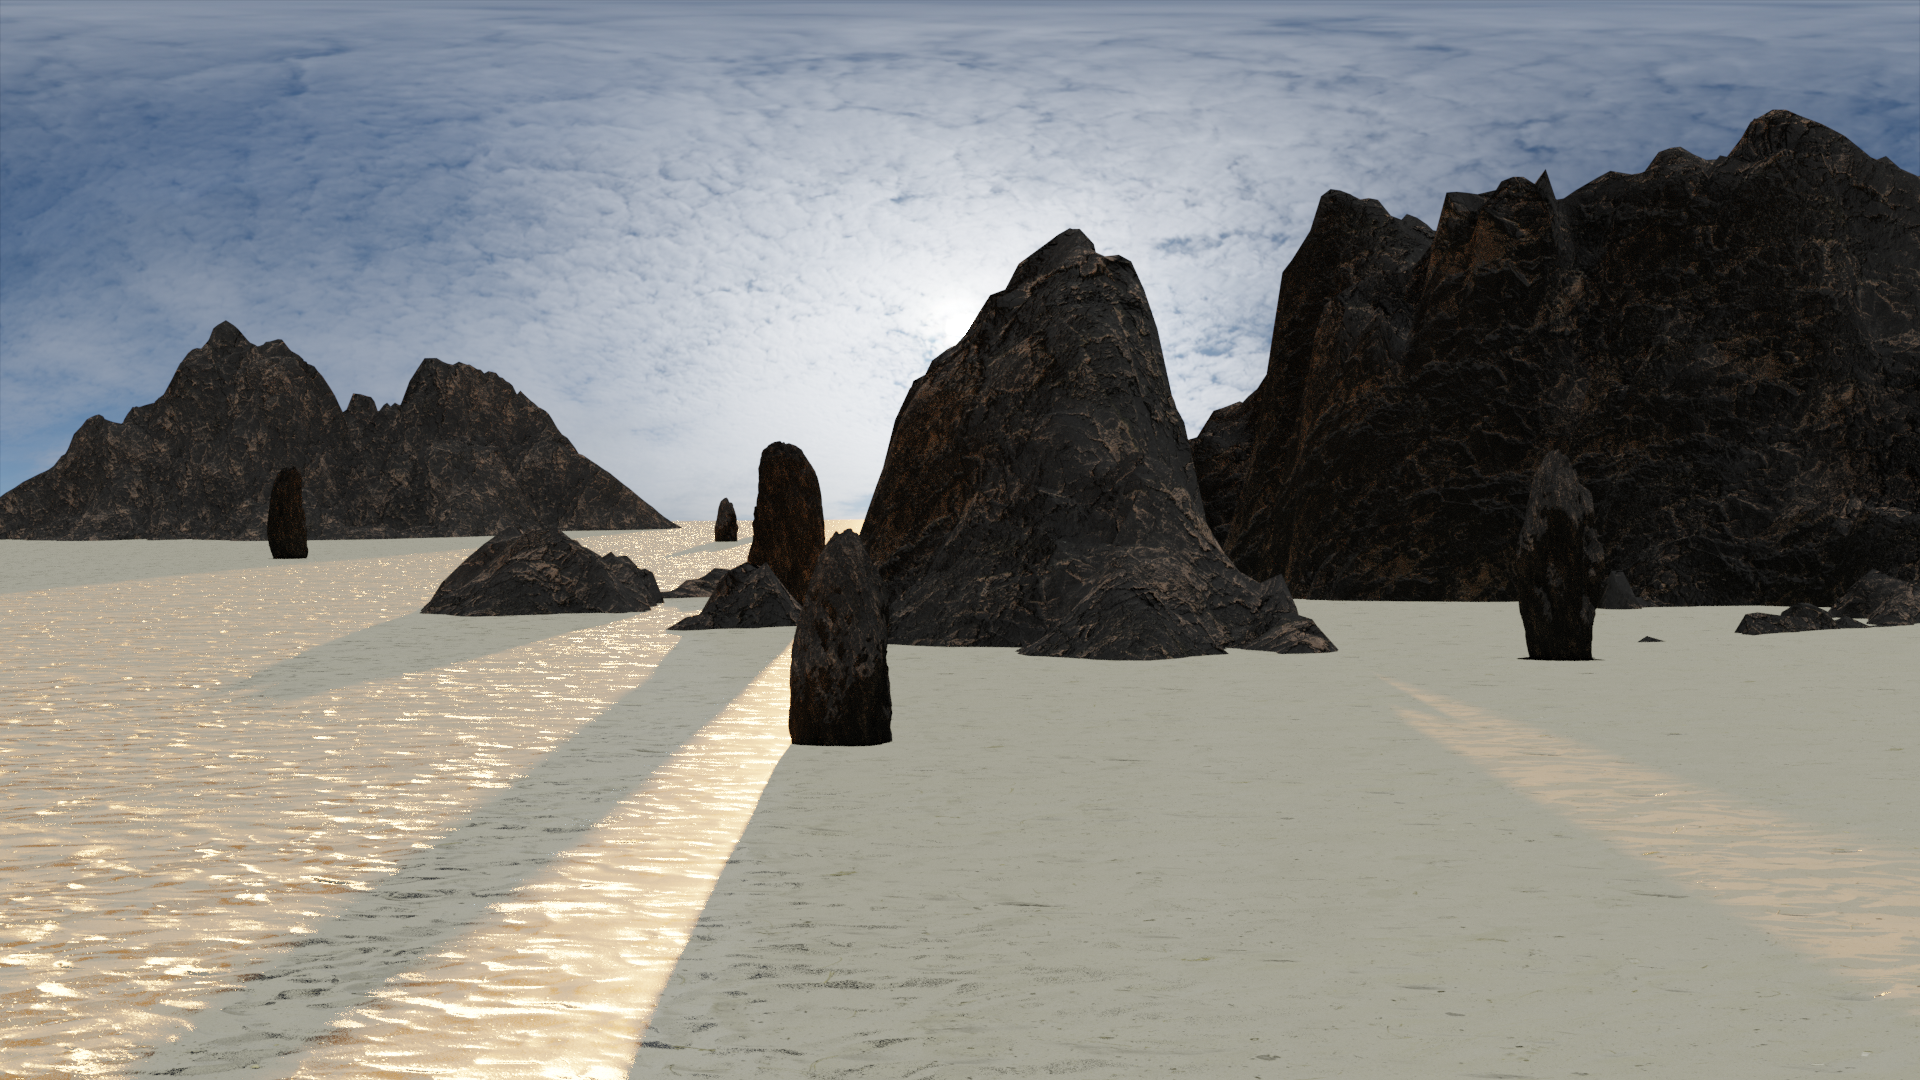
Thus the Kairidian Spirelands. This is the first planet in the game I am working on. An excessively arid planet on the surface, it has extensive aquifer networks below ground. This particular region is dotted with spires of stone and the occasional rocky outcropping amongst a sea of sand.
I used the PBR textures I learned about last week and created the rocky outcroppings with the Blender addon ANT Landscape. I also used ANT landscape to make the spires. You can select “Sphere” to have it generate the landscape onto a sphere. I see this working well for asteroids, but I simply stretched the sphere along the z axis for the spires in this scene.
If you duplicate something and want to change the material/shaders, be sure to copy the material. Otherwise, you’ll change the materials on the original object as well.
To set your camera to your current view, hit CTRL + ALT _ NUMPAD0
Here is Blender’s documentation on ANT Landscape.
To add an image as a background, click World Properties (the red globe), click Color and select Image Texture. Then you can choose the image to use. This even works with Dynamic Sky.
The images above contain assets from ambientCG.com, licensed under CC0 1.0 Universal.

“PBR” stands for Physically Based Rendering. This essentially means that generated materials work to match the physics of the real-life material they are supposed to emulate. Metal, for example, is more shiny and reflective. Paint may have some shine, but won’t be nearly as reflective as metal. And raw wood will be more matte and rough.
With PBR, you can create a library of preset materials to be used in any environment and lighting level. No more tweaking every time you create a new scene. Better yet, PBR is pretty much all procedural in nature. It can leverage technology to make your workflow more efficient.
I have been learning PBR using this tutorial, by Blender Guru. You may know him for his Blender donut, and he seriously is a guru with Blender. All of his tutorials are super educational, going beyond the simple “do it like this” and breaking into the actual science and logic behind why you should “do it like this”. I believe his PBR tutorial is a two-parter, and keep in mind that these particular videos are in the hour-long territory. But it’s worth it if two hours can teach you how to build an entire library of realistic materials.
I am currently 45 minutes into the first tutorial. So far, I have learned how important fresnel is in addition to the relationships between roughness, fresnel and reflectivity. I have also used nodes to build a base, nonmetal material that can easily be edited to match the roughness and reflectivity of various materials. So it becomes a matter of duplicating and editing that material to match paint, stone or anything else. The final portion of the first part provides an example of that.
Everything. Has. Fresnel.
Fresnel has an inverse relationship with roughness.
When in the node editor, highlighting multiple nodes and hitting CRTL + G groups those nodes. Tab cycles through the groups.
Selecting a node and hitting CTRL + M mutes that node.
A sun intensity of 5 seems to be a pretty good value.
Try Blender’s Dynamic Sky addon. It creates a procedural sun and sky, complete with clouds.
To pull a node group (call it PBRGroup for this example) into another Blender file, open the target file and click File > Append. Then, in the dialogue box that appears, click the .blend file containing the node group (PBRGroup), click the “NodeTree” folder and double-click the name of the group you want to pull in (PBRGroup). Now, in the shader editor, you can add the node group by hitting SHIFT + A, selecting “Group”, and selecting the name of the node group you just appended (PBRGroup).
If you want some free materials to try this tutorial with, check out ambientCG. The images above contain assets from ambientCG.com, licensed under CC0 1.0 Universal.

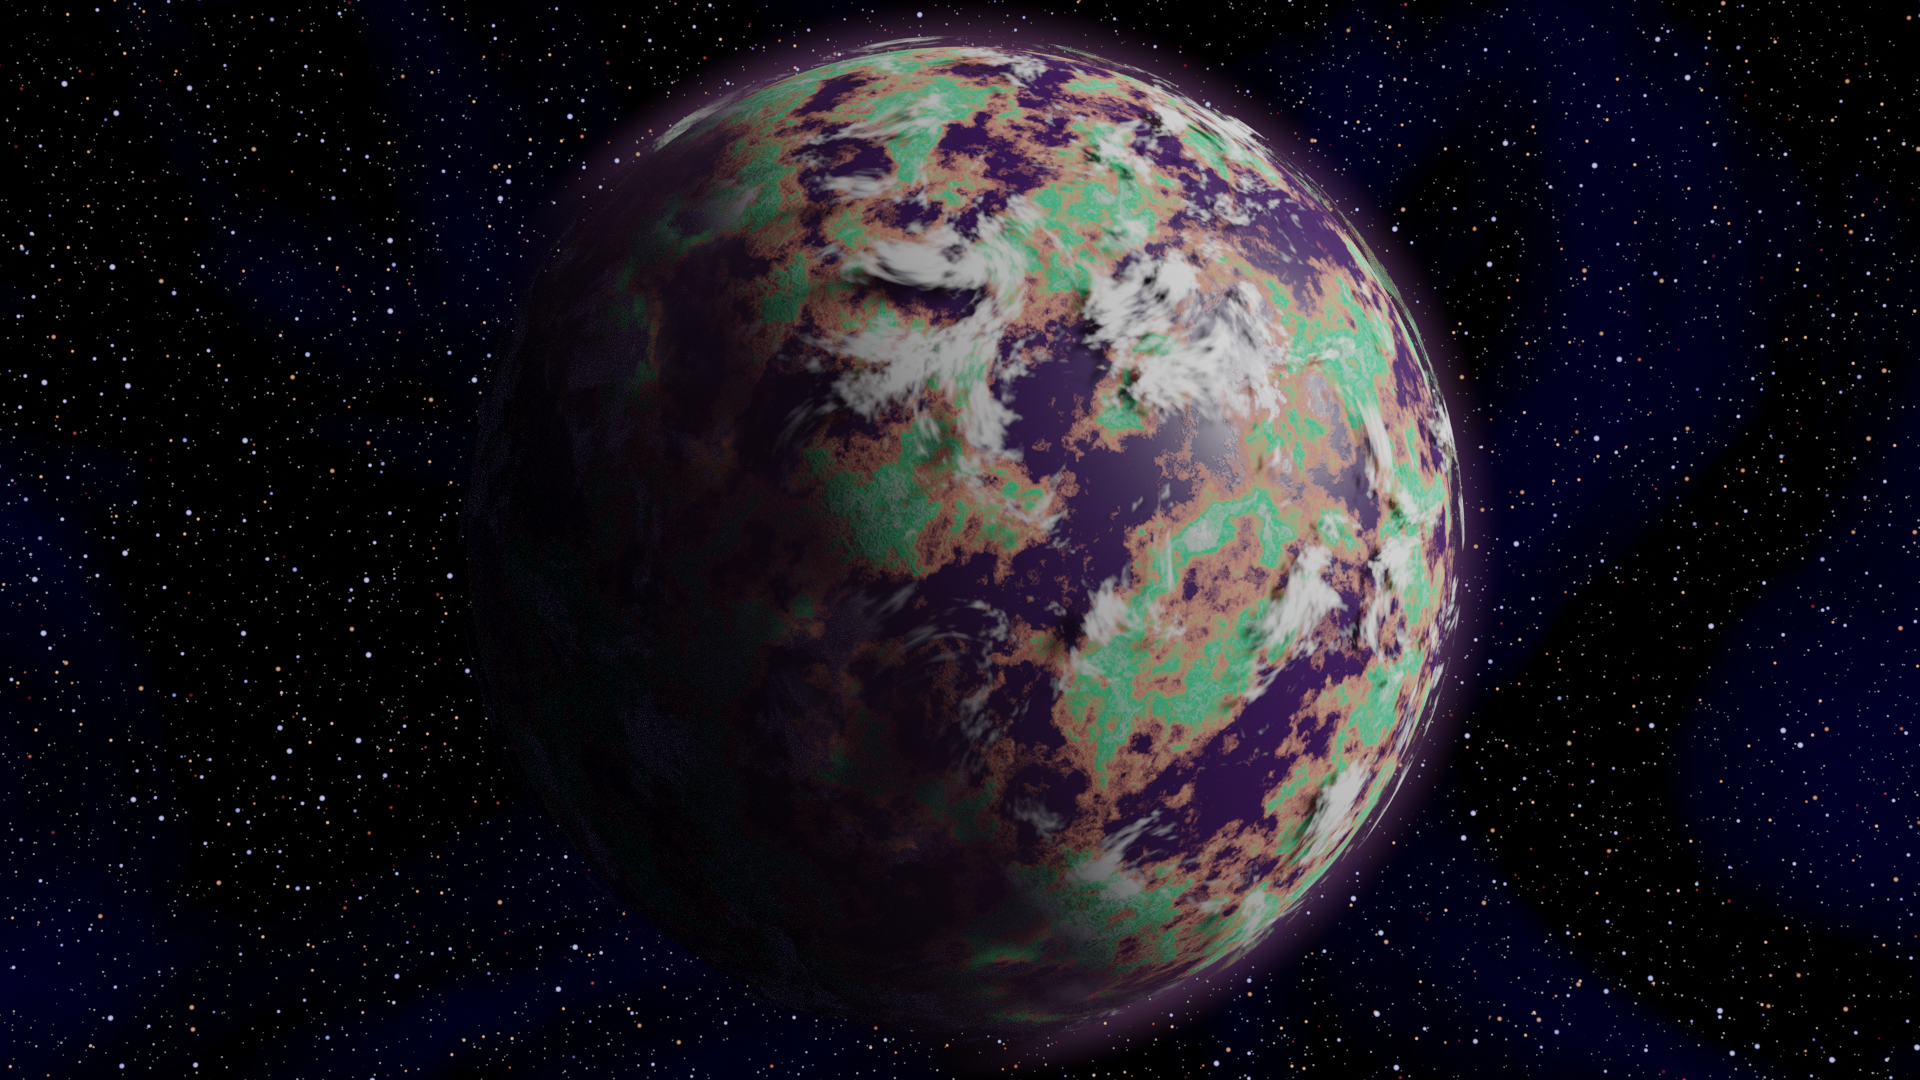
I’ve been working on a videogame in my free time for a while now, and it has to do with space. I also love the idea of anything AI, procedural, or computer generated. Bigger projects take a while, especially if you’re going it solo, so why not leverage the power of computers to do some of the drawing, modeling, etc.?
That being said, this video by Critical Giants hit the nail on the head. It essentially created three layers of materials, the land/see, the clouds and the atmosphere. They also explain everything they do very well.
I also wanted to do a starfield background for the image. Kaetsu’s Studio came through on that with their tutorial.
I think this image turned out fantastic. I couldn’t draw this in a million years, so Blender did exactly what I was hoping it would.
I gained plenty more experience with nodes in Blender. Especially with the Noise and ColorRamp nodes.
Blender has two primary rendering engines: Eevee and Cycles. Eevee is built for performance and speed, and renders in real time. Cycles is focused on a high quality render and takes a good amount of time longer than Eevee to finish. Given these pros and cons, it is most efficient to use Eevee while building your project and to switch over to Cycles for the final render. You can change the engine in the scene settings.
Pressing 0 (zero) on the numpad while in the 3d viewport will show you the camera view.

A buddy of mine is out in Phoenix this week. He sent me a picture of these deep purple spikes stuck into the ground of a botanical garden. Despite the his other shots of valley views and red rock formations, this picture of purple spikes really caught my eye. To me, they accentuated the beauty of what a desert has to offer. Flowers in the desert shine so much brighter as bursts of color against an otherwise uniform background. Among a vast expanse of dryness, lifelessness and seeming emptiness, these pockets of color call out – testaments to the fact that life in the desert is not only existing, but thriving.
I love space and sci-fi. I love science and nature. I love the idea of new worlds out there. So the idea of being able to create an alien world with crazy flora and fauna is a huge reason why I want to learn Blender and Unity. I want to be able to create scenes of what I hope is out in space – on other planets; and then to be able to explore them.
That’s where the purple spikes come in this week. What is there was an alien plant in the desert that was a usually a small clump of leaves (small leaves help against harsh desert conditions); but during the right season, these small clumps of leaves produce a flower with almost not petals, but huge stamens that reach up to four feet into the sky. Huge, unapologetically purple stamens.
Making the spireflowers was relatively easy. I started with the stamens by adding a cylinder (SHIFT + A > Cylinder) and sizing it down to 0.05 on the X and Y axes (S + X + .05 and S + Y + .05). I added a couple additional rings of vertices to the cylinder (CTRL + R + Left Mouse) and resized those rings so the cylinder increased in diameter near the top. I joined a sphere of the same diameter at the tip of the cylinder (CTRL + J) so the tip of the stamen would be round. I reduced the diameter at the bottom of the stamen to near zero by selecting the bottom face and resizing it down (S + Mouse Move).
To make the leaves at the bottom of the plant, I deleted all but a quarter of a sphere by going into wireframe mode (z + 4), selecting the vertices I didn’t want, and then deleting them. I then flipped half of this orange peel piece to curve the other direction by grabbing (G) each row of vertices and placing them where they looked right. That formed one leaf. I duplicated it with a link (ALT + D), so I would be able to edit the material on all the leaves at once. I placed duplicate leaves in a ring about 50 degrees apart from each other, and made two layers of leaves. Then it was a simple matter of joining them with the purple stamen.
This was the first time I used a linked duplication (Alt + D). That will really save time by editing multiple objects all at once. Hitting 7 gives you a perfect top down view, so that rotating or grabbing and moving objects will only rotate and move them along the X and Y axes. You don’t have to worry about the Z axis changing, which is helpful when moving objects on a flat plane.
Pressing H hides all selected objects. Alt + H unhides all hidden objects.
I need to spend more time on materials and their associated nodes. I think this image of spireflowers is a great concept piece, but great materials can make it so much better.
The images of the spireflowers contain assets from ambientCG.com, licensed under CC0 1.0 Universal. I am particularly referring to the ground texture, which I used one of their images for. Visit their website to see the full PBR “Ground” texture.

Hello World! So this is my first post on this site and my first week chronicling my efforts to learn Blender. To get a base on my current Blender knowledge, I’d say I have somewhere between 100-200 hours of on and off experience. I know a decent amount of shortcuts, how to navigate the primary pieces of the software, and how to work with a few addons. But there is much more for me to learn. Blender is a powerful tool and a large piece software to explore.
I’ve had pine trees on the mind, so I thought modeling a pinecone wouldn’t be a bad idea.
I may have taken the slow route doing this. I have heard there may be a radial or rotating type tool that repeats an object in a spiral, but I wanted to try a technique that originally popped into my mind. I think it turned out pretty well, with a few potential cons.
I started by making the largest middle layer of the pine cone. I designed a basic petal shape and duplicated it (SHIFT + D) eight times, rotating each new petal by 45 degrees on the Z plane (R + Z + 45). To eliminate a long list of objects, I joined these 8 petals together (CTRL + J).
I noticed a trade-off here, because while I kept my object list decently small, I was unable to go back and change petals as individual objects. I think I could technically break them apart again, but that would risk un-joined or missing vertices. I just don’t feel like it’d be worth the mess. One way to mitigate that issue is to make duplicates of various pieces of objects along the way. In this case, I made a duplicate of an un-joined petal. Later on, I set aside a duplicate of the 8-petal layer; and I even duplicated a full pinecone before joining my final version.
After making the first layer, it was a simple process of duplicating it (SHIFT + D), moving it upward/downward, rotating it and resizing it. I started towards the bottom of the pine pinecone first, moving the next layer down 0.25 units (G + Z + -.25), shrinking it to 95% of the first layer (S + .95) and rotating it 15 degrees (R + Z + 15). And that was essentially the entire process, multiplied by however many layers the pinecone is. I did start to form the petals upward at the top by grabbing the outer faces and pulling them upward (G + Z + Click & Drag).
When satisfied with the general shape of the pinecone, I subdivided the mesh once (Object Mode > Edge > Subdivide) and applied smooth shading (Object Mode > Right Click > Shade Smooth) to make it look a little more realistic. Then I joined the entire object (CTRL + J) and applied a brown material to it.
Keep as many backup objects as possible. The petals for example. And when repeating a large number of objects, consider doing all the detail you can before duplicating them and placing them. For example, if I want to paint these petals with a design or more realistic look, I can either paint one and duplicate it, or paint an entire pinecone. Which one sounds more efficient?
If you want to render an image without having the hidden object show up, make sure you have the camera deselected in the scene collection. Deselect the camera icon below to hide an object from rendering.

When I first looked for this camera icon, it wasn’t available. To make it available, click the filter icon to the right of the search bar and select the camera. See below:

Then click the camera circled below:

I got the grass for the slideshow pictures from https://www.pexels.com/. Check them out!
Build Your First Android App with Google Codelabs:
Codelabs has a ton of tutorials and references for topics like ads, IoT, gaming, AI, Machine Learning and, of course, Android. Their tutorial to create your first Android app will help you get Android Studio set up, create a virtual machine to emulate the app on your computer and build a simple app.
A note on setting things up: if you don’t have something called HAXM installed on your computer, Android Studio will likely make you install it. This is needed for the Android emulator and is provided by Intel. If the installation fails through Android Studio, I was able to install it from GitHub. When first attempting to install it, I was notified that VMX was disabled on my computer. If that is the same case for you, check out Mashtips’ article on how to enable it. Please note that enabling virtualization (VMX) on your machine can pose a security issue. Make sure you do your research and know the pros and cons.