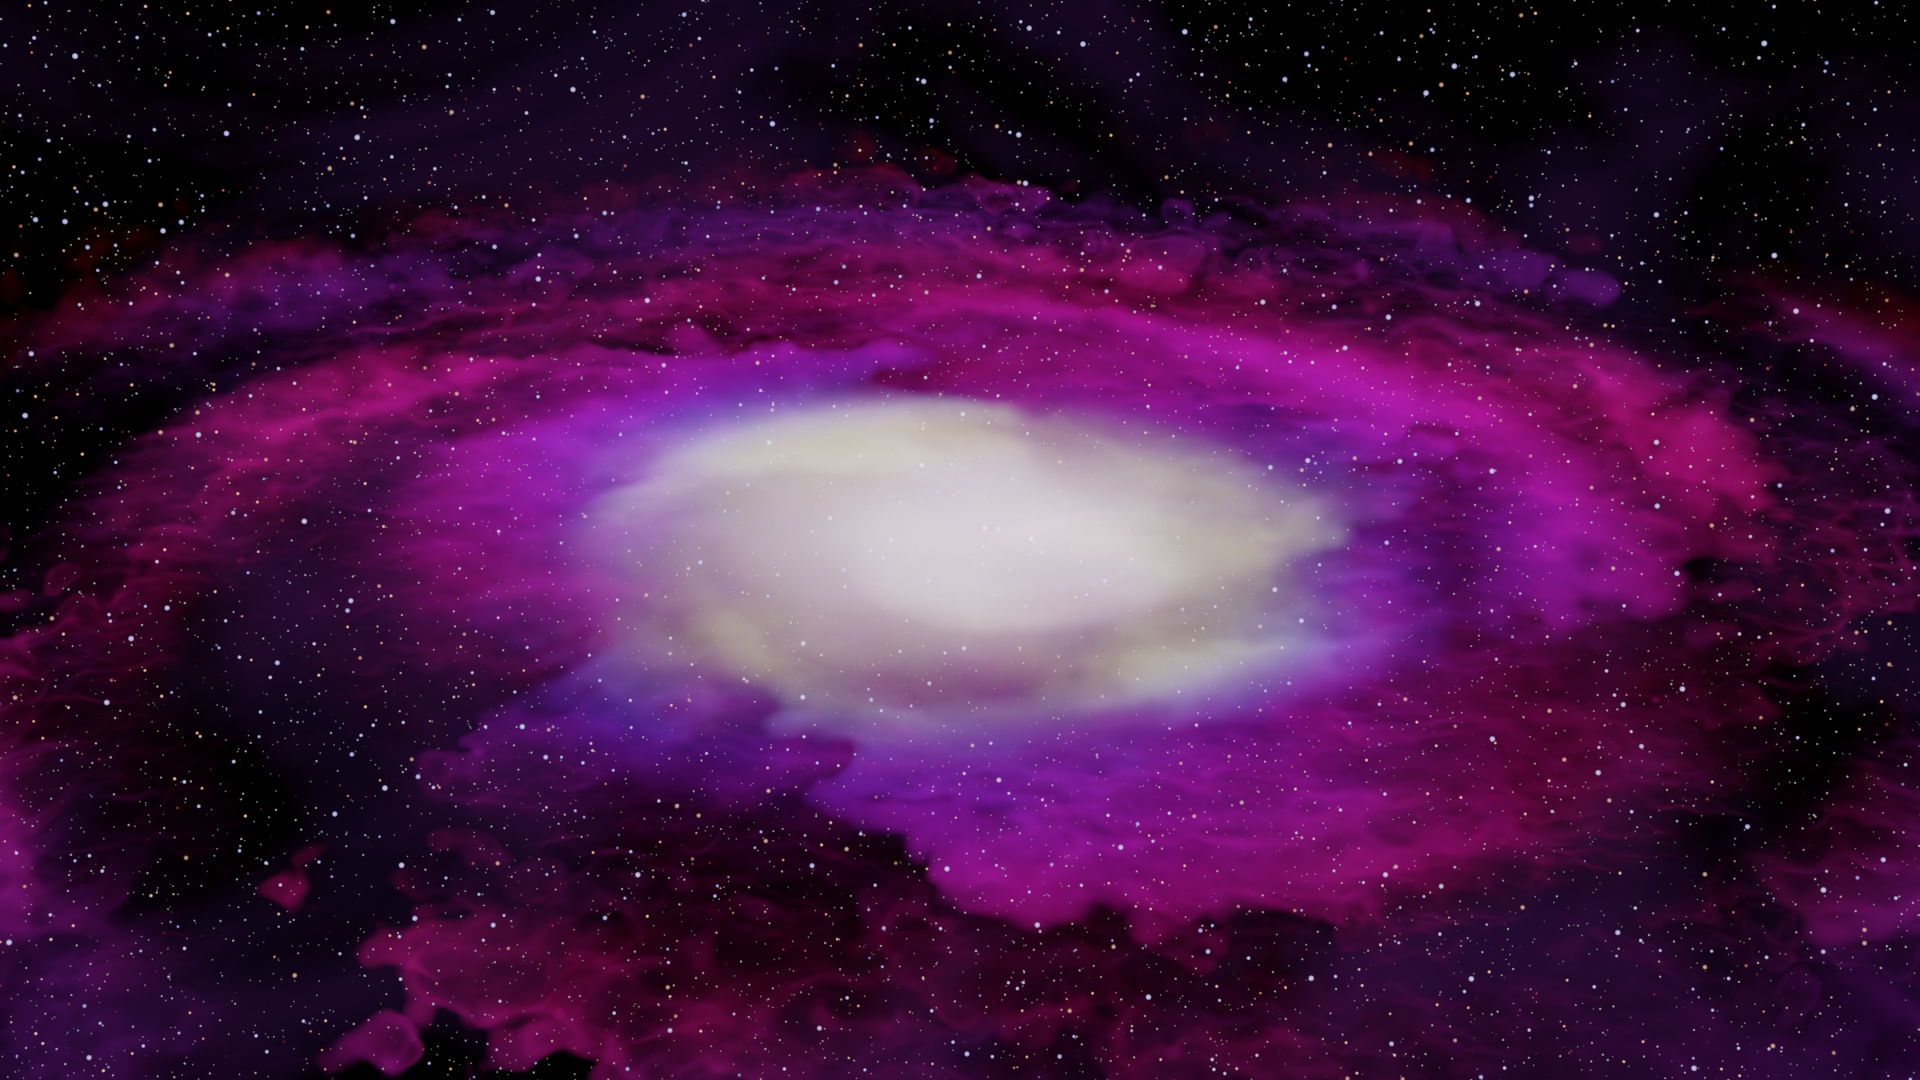
This is another week of waiting on consistent internet (labor shortage = no technicians). But I tried a quick tutorial from Iridesium on making galaxies in Blender. It was a fast-paced tutorial, so be ready to pause a lot, but I think the galaxy turned out pretty well. I was also able to pair it with my space background from last week to make it look more realistic.
It is good for a quick galaxy. Of course, making it look less gaseous and more like clusters of stars would increase the “real” factor. I will continue to play with it, and may use the gaseous piece of the galaxy’s shader when trying to make nebulae later on.
What I Learned
ALT + SHIFT + Z turns off all overlays in the 3D viewport.
CRTL + J joins selected nodes together in the shader editor. It is slightly different from CTRL + G in that it keeps all of the node visible. With CTRL + G, you hit Tab to move into the group of nodes. I do like that CTRL + G lets you append the grouped nodes into new projects.
